Step 1: Split the Deck
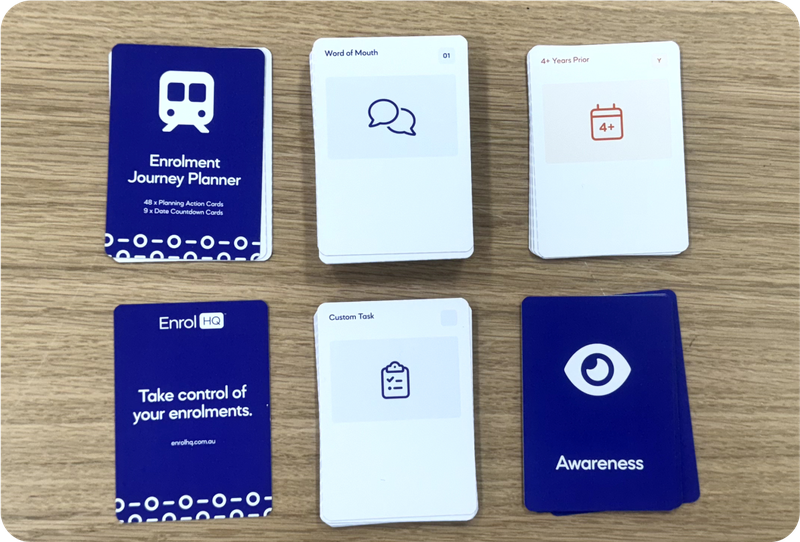
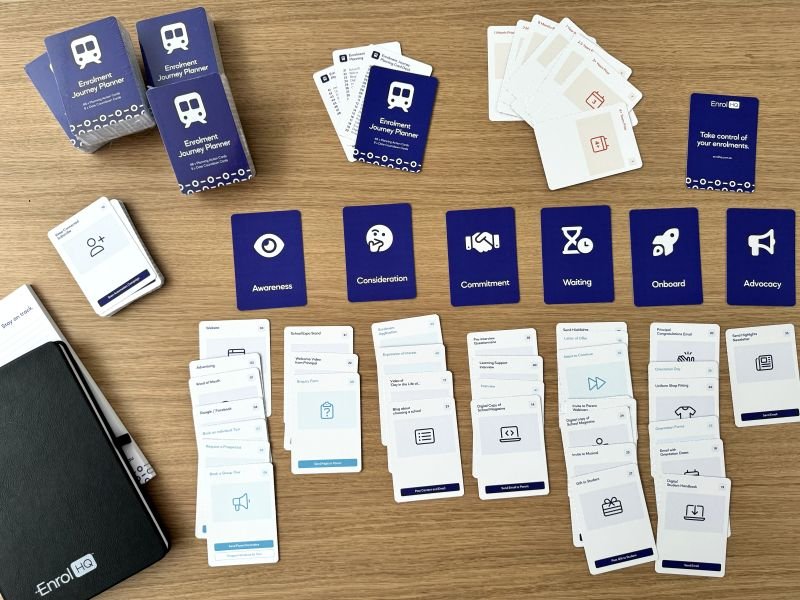
Open your deck of cards and split them into the following groups:
4 x Intro Cards
48 x Task and Action Cards
10 x Date Cards
1 x EnrolHQ Promo Card
15 x Custom Task, Action and Date Cards
6 x Stage Cards
Step 2: Review your Task and Action Cards
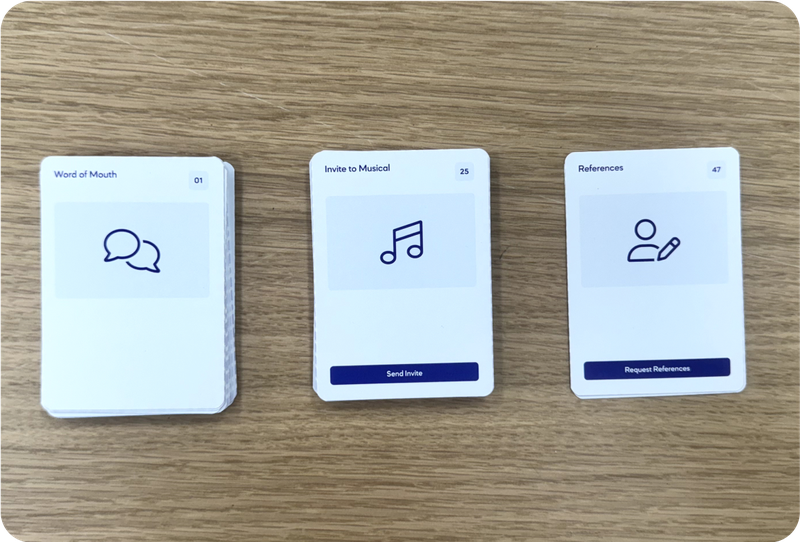
Take your 48 x Task and Action Cards and split into 3 groups:
1. Tasks and actions that already exist in your enrolment journey
2. Tasks and actions you want to incorporate into your journey
3. Tasks and actions you don’t want to incorporate or are not relevant
Use your Custom Task and Action Cards to add any we’ve missed.
Step 3: Map it Out
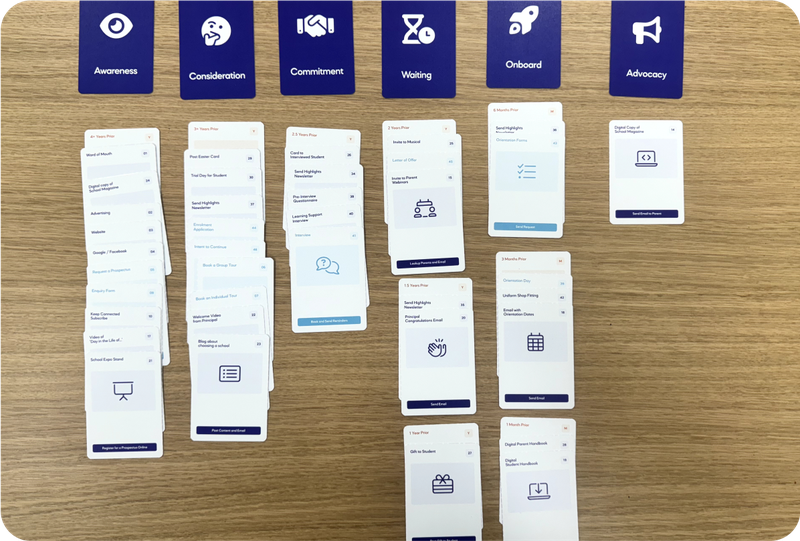
Set your 6 x Stages across the top of your workspace: Awareness, Consideration, Commitment, Waiting, Onboard and Advocacy.
Set your Date Cards under each Stage.
Add your chosen Task and Action Cards to the Dates (including those tasks and actions you want to look at incorporating).
Now you have your journey mapped, look for areas for improvement or consolidation. You might want to move Cards or utilise Custom Cards to fill any gaps. When you are happy, document your journey by (1) taking a photo or (2) stacking your cards in your proposed enrolment journey order for easy reference.
Step 4: Implementation
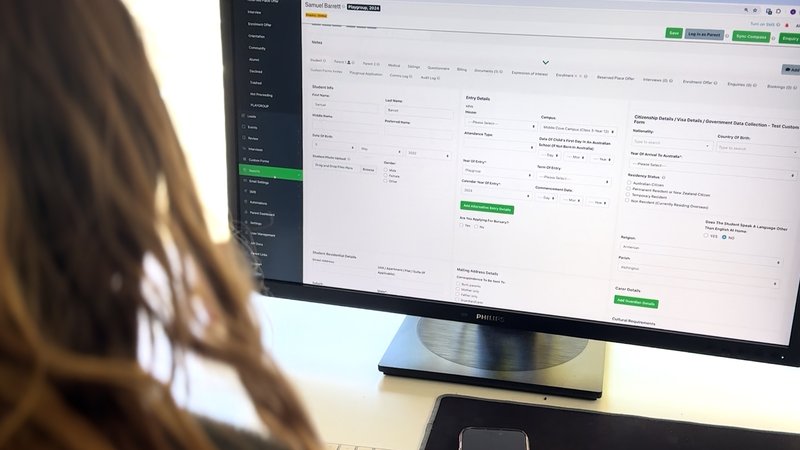
Use your completed journey to help guide the production of any new digital assets (Blogs, Downloads, Videos, Forms, Birthday Cards etc) and utilise EnrolHQ for the delivery of tasks, parent communications, automations and reporting.
Of course, if you need any help with your implementation, please reach out to support@enrolhq.com.au and book a call with our experts.
Get your set of cards
If you'd like your own set of EnrolHQ Enrolment Journey Cards, simply send my team an email at support@enrolhq.com.au to check if we have any available.


