Understand the layout and features of the All Prospective page.
Select How Many Records to Show
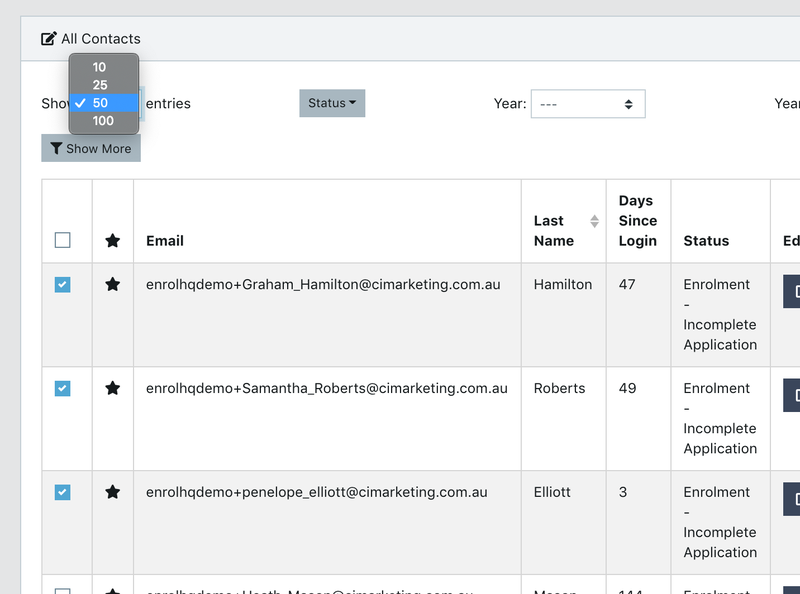
Once you have applied the correct filters or entered search terms, you will see the results of all the Student Profiles in a table view. You can choose whether you want to show 10, 25, 50 or 100 entries on one page of the table.
If you scroll to the bottom, you will be able to go to the next page of results and see the total number of Student Profile results returned for your filter/search.

Organise Your Information Column
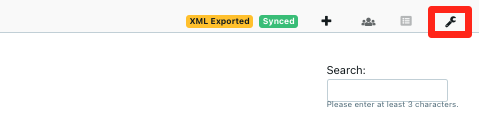
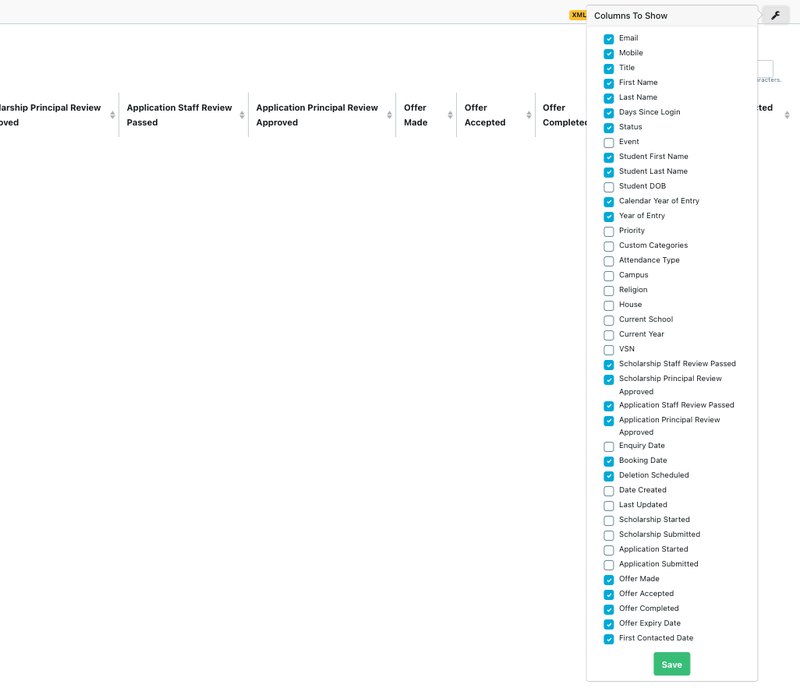
In the top right corner of the screen you will see a small spanner icon. Click on this and you will be able to choose which columns to show in your table.
You will be able to check each of the columns below on/off.
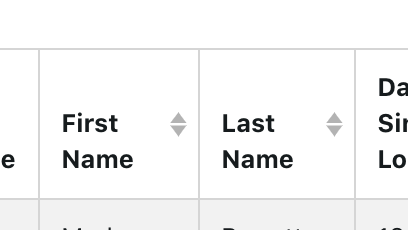
Some of these columns have a ‘up’ and ‘down’ arrow next to them that indicates they are sortable in alphabetical or reverse alphabetical order. The date columns is sorted in forward or reverse order.
Select Your Records
On the two leftmost columns you will see checkboxes and stars. The star function allows you to mark a Student Profile record as something you need to come back to later without having to leave a note on the record.
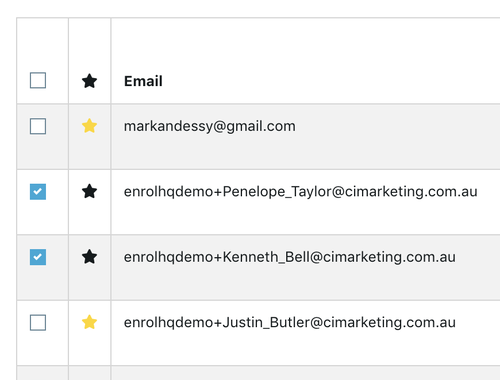
The checkbox allows you to select one or multiple records to apply a Bulk Action. To select all the records that match the filter/search applied, click the checkbox in the header (the top row) of the table and it will automatically check all records.